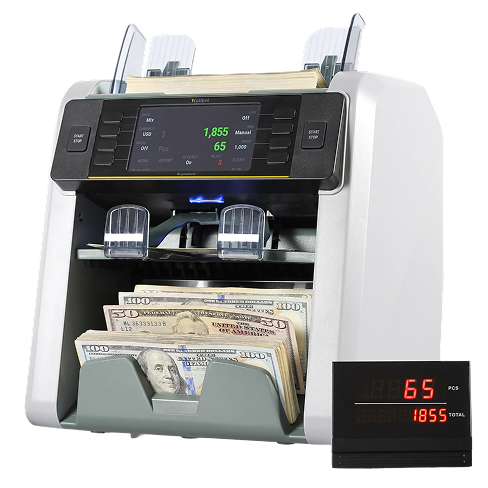
Mixed Bill Counters


Mixed Bill Counter
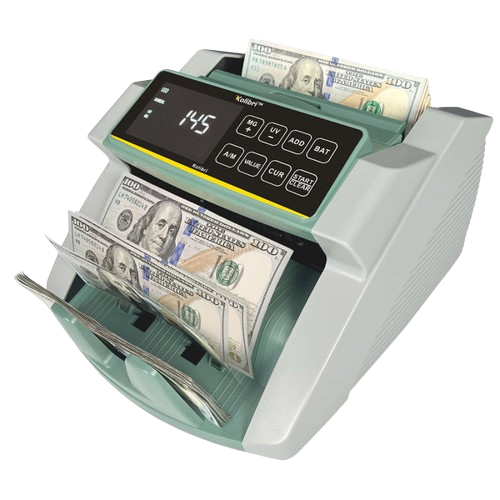
In order to avoid jams, it is important to correctly load the hopper. Kolibri recommends not to use more than 200 bills at a time. Follow the 3-step loading technique below to ensure smooth bill feeding.
The unit has fast moving parts and may be hazardous if fingers, hair, clothes, etc. get near the fast moving parts. Please be mindful of loose clothes, hair or fingers coming too close to the fast moving parts.
STEP 1: Correct or remove the bills that are severely wrinkled, damaged or folded. Square the bill stack.
STEP 2: Place the bill stack on the carrying handle, with the bottom of the stack touching the bill guide plate. As it is shown in the illustration.
STEP 3: Flip the bill stack towards the rear of the machine so the stack is now leaning against the bill guide plate The bills will begin counting automatically (unless in manual mode).
Below is a side view of the bill loading technique. All bills must be between the rollers and the feeding plate to be counted smoothly.
Use an air duster and soft bristle brush to remove dust and debris.
Clean the Hopper, Stacker, and detection sensors with a soft bristle brush or dry cloth.
Clean rubber rollers with a damp cloth and a small amount of isopropyl alcohol. Ensure they are dry before turning the machine back on.
When not in use, cover the machine with the provided dust cover.
Control Panel Maintenance:
Place fingers under the control panel, thumbs on the side panels.
Lift the control panel about 2 inches.
Secure the sensor housing and control panel back into position.
Frequent cleaning ensures smooth operation and prevents malfunctions.
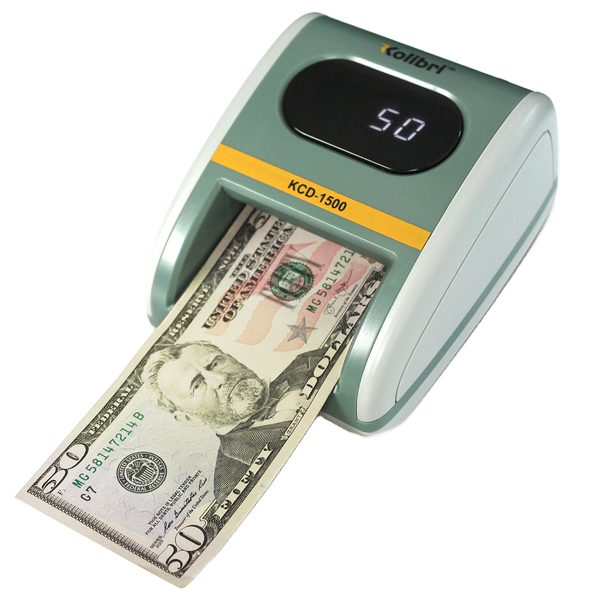
Like all other bill counters on the market with integrated detectors, Kolibri Kolibri cannot guarantee a counted bill to be genuine or counterfeit.
There are several reasons a genuine bill may be recognized as counterfeit, or vice versa. Possible reasons include: direct sunlight exposure, worn bills, excessively dirty bills, or highly advanced counterfeiting techniques used to produce the bill. Separate equipment may be required to definitively determine whether a bill is counterfeit.
For all error code references, open Section 5.1 in User Manual.
Sometimes, during the transportation or shipment of the unit, the adjustments of the feed mechanism may loosen. This can also happen during normal wear and tear, and can lead to DOUBLE/CHAIN errors.
The feed gap is the actual height of the bill feed path and should be adjusted to the thickness of a single bill. If the feed gap is too wide, the user may experience a high amount of DOUBLE/CHAIN errors which are caused by more than one bill entering the scanning path at one time. If the feed gap is too tight, the unit may not be able to pass bills into the scanning path or catch on bills and tear them.
To adjust the feed gap properly:
Adjustment knob (green).
Fixing plate screw (green circle) at the back of the machine. Loosen the fixing plate screw before adjustments.
2. Adjustment Guidelines:
For DOUBLE/CHAIN errors (more than one bill pulled): Turn the knob clockwise (decrease gap) by one turn. Test and repeat as needed.
For CHAIN errors or bill jams on input: Turn the knob counterclockwise (increase gap) by one turn. Test and repeat as needed.
3. Finalize Adjustment:
Tighten the fixing plate screw clockwise to secure the setting.
Important Notes:
Proper feed gap adjustments ensure smooth operation and accurate performance.
Use an air duster and soft bristle brush to remove dust and debris.
Clean the Hopper, Stacker, and detection sensors with a soft bristle brush or dry cloth.
Clean rubber rollers with a damp cloth and a small amount of isopropyl alcohol. Ensure they are dry before turning the machine back on.
When not in use, cover the machine with the provided dust cover.
Control Panel Maintenance:
Place fingers under the control panel, thumbs on the side panels.
Lift the control panel about 2 inches.
Secure the sensor housing and control panel back into position.
Frequent cleaning ensures smooth operation and prevents malfunctions.
None of these? Contact Us
Document Downloads: User Manual