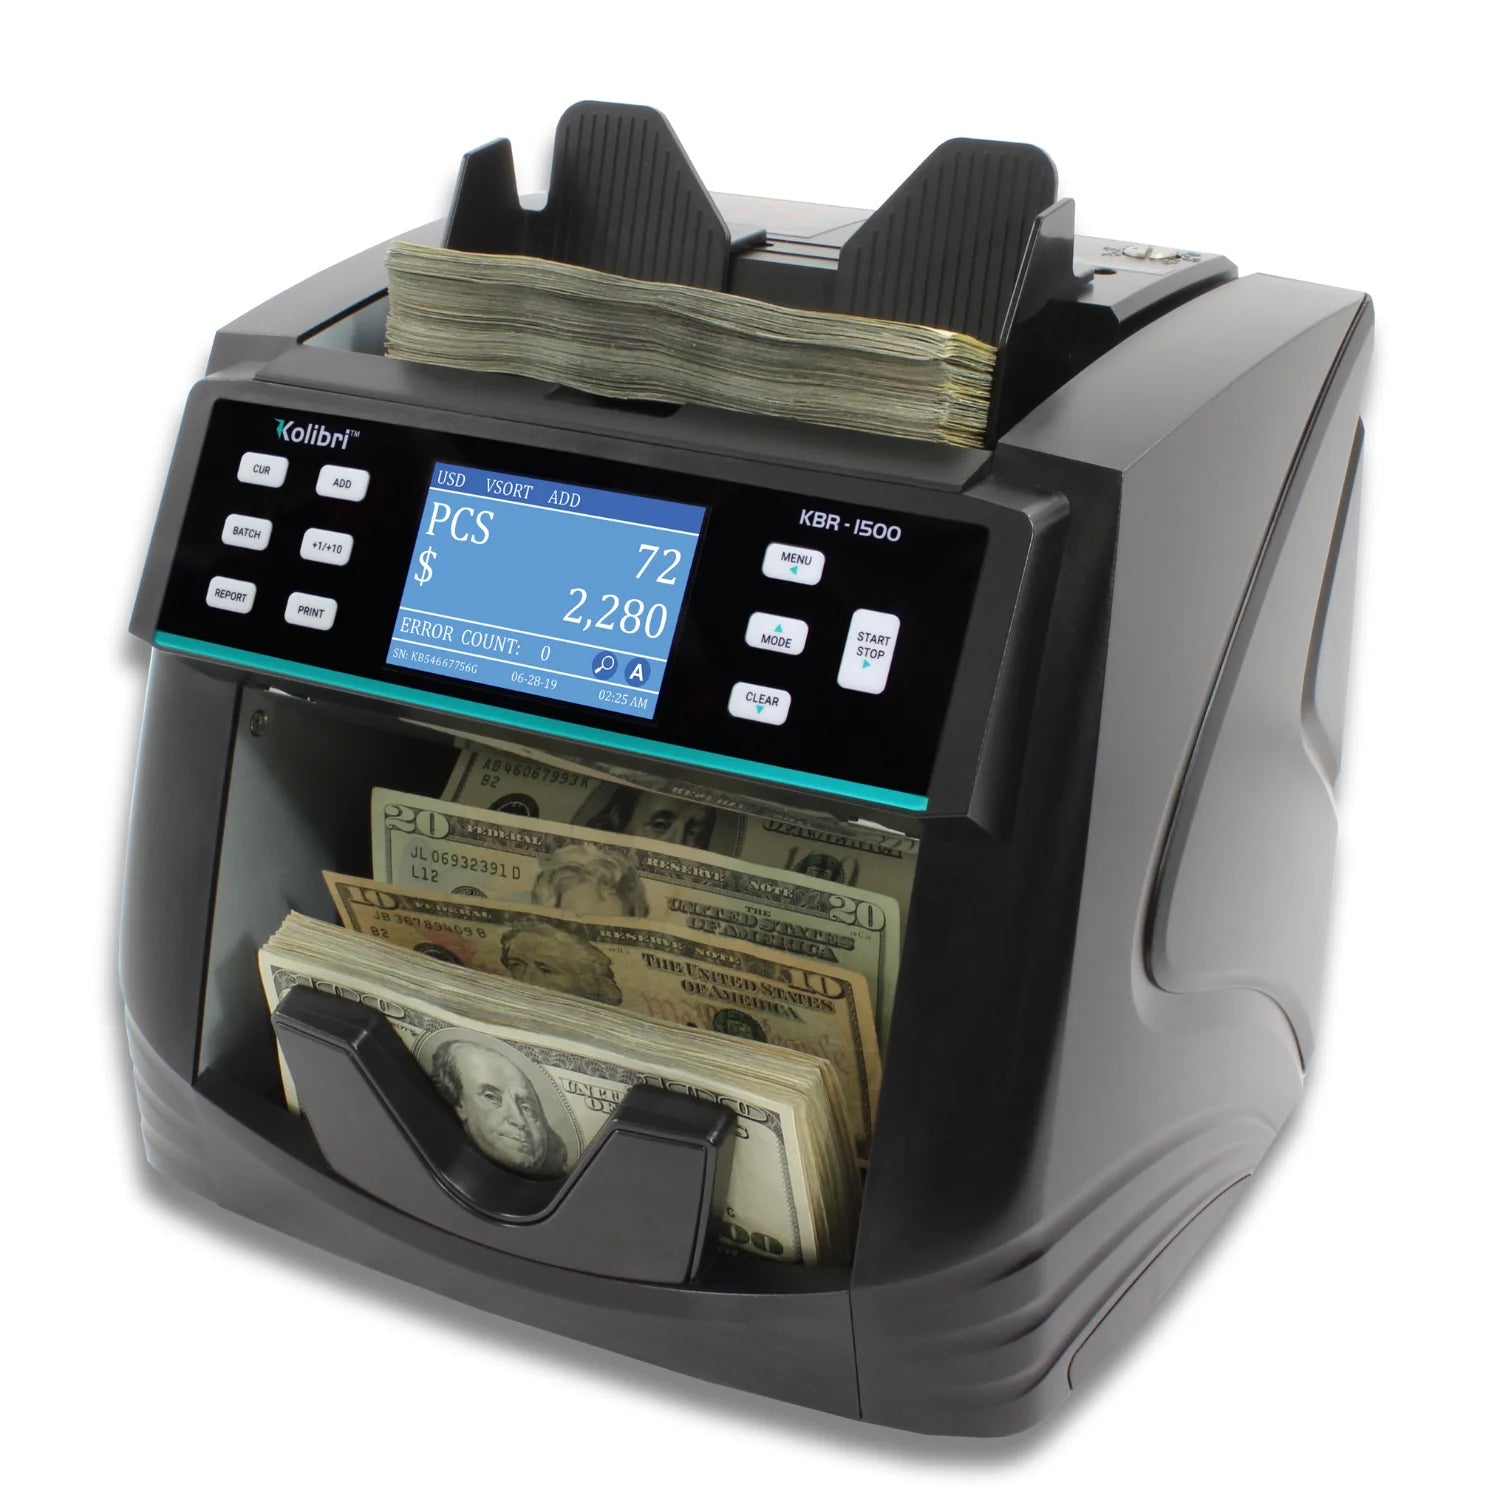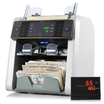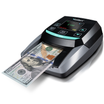
Mixed Bill Counters


Mixed Value Counter
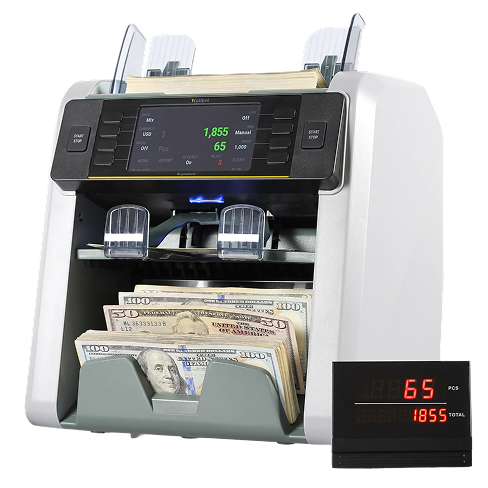
To avoid jams and ensure the proper operating speed of the machine, it is important to correctly load the hopper. Bills should be placed in a neat stack before being placed into the hopper.
Avoid counting bills that are wet, excessively dirty, folded, or curled. Bills such as these can cause the machine to malfunction. Foreign objects such as clips or bands may jam the internal mechanisms of the unit, causing mechanical failure.
Adjust the hopper bill guides to a size slightly wider than the width of the bills. This will help to correctly situate the bills in the hopper and ensure smooth bill feeding.
The unit has fast moving parts and may be hazardous if fingers, hair, clothes, etc. get near the fast moving parts. Please be mindful of loose clothes, hair or fingers coming too close to the fast moving parts.
In order to properly load bills into your machine please follow the instructions and diagrams below:
Power Off: Always turn off and disconnect the unit before cleaning. Avoid using solvents (e.g., alcohol, thinner).
Preventive Care: Regular maintenance extends the unit’s lifespan. Ensure no metal clips or rubber bands are in the bills.
Cleaning Tools: Use an air duster and soft bristle brush to remove dust and debris. Cover the unit with provided dust cover when not in use.
Sensor Care: Clean sensors (hopper, stacker, upper/lower sensor blocks) daily to prevent operational issues caused by dust or foreign matter.
KBR-1500 V2 like all other discriminators on the market with integrated detectors, cannot guarantee a counted bill to be genuine or counterfeit.
There are several reasons a genuine bill may be recognized as counterfeit, or vice versa. Possible reasons include: direct sunlight exposure, worn bills, excessively dirty bills, or highly advanced counterfeiting techniques used to produce the bill. Separate equipment may be required to definitively determine whether a bill is counterfeit.
For all error code references, open the User Manual:
Refer to Section 6.1 Maintenance for location of sensors.
During transportation or normal wear, the feed mechanism may loosen, causing DOUBLE/CHAIN errors. The feed gap, which controls the bill feed path height, should be set to the thickness of a single bill. A wide gap causes DOUBLE/CHAIN errors, while a tight gap may prevent bills from feeding or tear them.
To adjust the feed gap and prevent DOUBLE/CHAIN errors, follow these steps:
Important: The feed gap is sensitive, so make small adjustments to avoid overshooting the optimal gap.
The Infrared (IR) sensors of the unit are calibrated properly from the factory. With regular, basic use, the sensor’s sensitivity decreases which can lead to ID errors. To resolve this issue, the unit can be re-calibrated using the white calibration card that comes with the unit.
To calibrate the IR sensors of the KBR-1500, follow these steps:
If the screen displays “CIS Calibration Failed”, readjust the calibration card on the sensors and repeat steps 3–6.
If you have UV Errors, Follow These Steps:
Inspect and clean the UV sensors.
Dust, dirt, or debris on the UV sensors can cause false counterfeit detections and UV-related errors. Carefully clean the sensors using a soft lint-free cloth or compressed air if necessary.
Perform a visual inspection.
Check the sensor area for any foreign objects, paper dust buildup, adhesive residue, or physical damage. Make sure nothing is blocking the sensor's view.
Test the machine again.
After cleaning and inspection, run several genuine banknotes through the machine to verify whether the UV errors have been resolved.
Adjust UV sensitivity if needed.
If the sensors are clean and functioning properly but the machine continues to generate UV errors on genuine notes, reduce the UV sensitivity setting through the machine menu.
If the problem remains unresolved, service may be required.
If cleaning, inspection, and sensitivity adjustments do not eliminate the errors, the machine may require professional repair or sensor replacement.
If you have MG Errors, Follow These Steps:
Inspect and clean the MG sensors.
Dust, dirt, or debris on the MG sensors can cause false counterfeit detections and MG-related errors. Carefully clean the sensors using a soft lint-free cloth or compressed air if necessary.
Perform a visual inspection.
Check the sensor area for any foreign objects, paper dust buildup, adhesive residue, or physical damage. Make sure nothing is blocking the sensor's view.
Test the machine again.
After cleaning and inspection, run several genuine banknotes through the machine to verify whether the MG errors have been resolved.
Adjust MG sensitivity if needed.
If the sensors are clean and functioning properly but the machine continues to generate MG errors on genuine notes, reduce the MG sensitivity setting through the machine menu.
If the problem remains unresolved, service may be required.
If cleaning, inspection, and sensitivity adjustments do not eliminate the errors, the machine may require professional repair or sensor replacement.
To properly load bills and avoid issues such as jamming or misfeeding, follow these steps:
For stacks over 200 bills, remember that the stacker has a 200-bill capacity. Once full, the machine will stop counting until the bills are removed from the stacker.
The feed mechanism of the unit may loosen during transportation, shipment, or normal wear and tear, potentially leading to DOUBLE, CHAIN, or HALF errors.
The feed gap, which is the height of the bill feed path, should be adjusted to approximately the thickness of a single bill. If the feed gap is too wide, DOUBLE and CHAIN errors may occur, caused by multiple bills entering the scanning path at once.
If the feed gap is too tight, the unit may struggle to pass bills into the scanning path or may tear the bills. Proper feed gap adjustment ensures smooth operation and reduces errors.
To adjust the feed gap of your Kolibri KBR-1500 V2 and resolve issues like DOUBLE, CHAIN, or HALF errors, follow these steps:
Important Note: The feed gap adjustment is sensitive. Avoid over-turning the screw to prevent overshooting the optimal setting. Test with a stack of bills after each adjustment.
Dirty sensors can lead to false errors, such as DOUBLE and HALF errors, and reduce the performance of the Kolibri KBR-1500 V2. Regular maintenance is essential for optimal performance and longevity. Before cleaning, always turn off and disconnect the unit from its power source. Avoid using solvents like alcohol or thinner.
For daily cleaning, use an air duster and a soft bristle brush to remove dust and debris from the machine’s interior. When not in use for extended periods, cover the unit with the included dust cover to prevent dust buildup.
Pay particular attention to the sensors, as they are sensitive components. Cleaning should include:
Kolibri recommends cleaning the unit at least once a week, or more frequently in high-usage environments. Regular cleaning will help prevent malfunctions and extend the lifespan of the KBR-1500 V2
The Ultraviolet (UV) and Infrared (IR) sensors of the unit are calibrated properly from the factory. With regular, basic use, the sensor's sensitivity decreases which can lead to ID errors. To resolve this issue, the unit can be re-calibrated using the white calibration card that comes with the unit.
Please follow the steps below to calibrate the sensor:
Following these steps should restore the sensor's performance and prevent ID errors.
None of these? Contact Us
Document Downloads : User Manual